HOW-TO
Proper Wood Preparation
The better the wood preparation, the better the end result. Get off to a good start with your wood project.

HOW-TO
Proper Wood Preparation
The better the wood preparation, the better the end result. Get off to a good start with your wood project.
Where to Work
Location
Choose a location to work on your wood project that won’t be extremely busy. The paws of curious pets and the fingers of your kids and their friends can accidentally leave prints on your finish.
Avoid areas that can be subject to dust. Select a spot where your wood project can be left undisturbed while the finish at each stage dries.
Temperature and humidity
All wood finishing products depend on evaporation during the drying process. Low air temperatures and high relative humidity slow evaporation and increase the length of time your wood project will remain tacky. Before starting your wood project, make sure the temperature will remain above 65° F and the humidity around 50% during both application and the drying process.
Ventilation
During the evaporation and drying process, products emit fumes that need to be dispersed. If you are working indoors, set up a simple two-fan system: one fan draws fresh air into the room, while the other blows fumes out of the room.
Top 5 Tips
1 Inspect your wood project
Start by making a thorough inspection of the wood. Make note of any holes, cracks, splits or loose joints that need to be repaired. These are always best completed prior to staining and finishing your wood project.
2 Fill holes and cracks
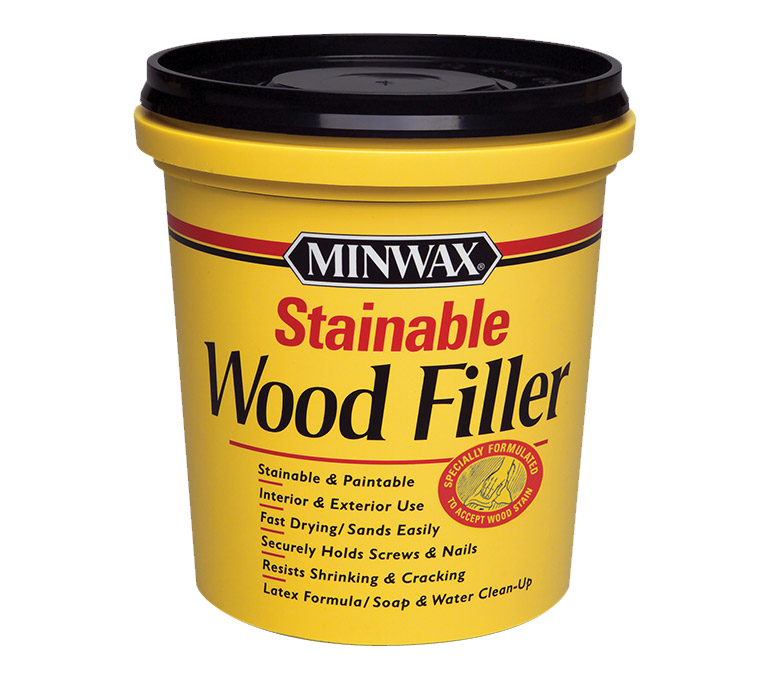
Small holes and cracks in the wood can be filled using Minwax® Stainable Wood Filler. Don’t smear the wood filler around the hole, as that will require additional sanding to remove the excess. Instead, use the tip of a screwdriver to carefully pack the wood filler into the hole, mounding it slightly to allow for shrinkage as it dries.
3 Don’t skip the sanding!
Sanding is a critical step in the wood preparation process for several reasons.
It smoothes out the dried Minwax® Stainable Wood Filler, removes minor nicks and scratches, and opens the pores of the wood to accept more stain. Sanding also removes the surface glaze created by the heat from the factory’s planer blades as they come in contact with the natural resins in the wood. Left unsanded, this glaze can prevent stain or finish from entering the pores.
4 Test, Test, Test
Wood is unpredictable. Always test any technique, material or product on an inconspicuous spot before you proceed with the wood project.
5 Always use pre-stain wood conditioner
Since wood pores are irregular, use Minwax® Pre-Stain Wood Conditioner before you stain to reduce the likelihood of blotchiness.
Choosing a Repair Product
Sanding Tips
Choosing the right sandpaper
Sandpaper is produced in various degrees of coarseness, measured by ‘grits.’
- Coarse sandpaper (below #100-grit) is only used to quickly remove wood or layers of an old floor finish. It is most often used when refinishing floors or refitting doors and windows.
- Medium sandpaper (#100-grit and #120-grit) is ideal for removing shallow scratches, dents and rough edges that could cause splinters. Either of these two grits is often used for a first sanding of most wood projects.
- Fine sandpaper (#220-grit) is used for a second sanding. It will remove any scratches left by the medium sandpaper and will eliminate any remaining loose fibers in the wood. After this second sanding, the wood is ready for a stain or clear protective finish to be applied.
Capturing dust
Dust is the enemy of a smooth finish. Blowing sanding dust off your wood project with an air compressor or brushing it onto your floor can still result in it ending up in your wet stain or finish. Instead, use a bristle attachment on a vacuum to safely capture it once and for all. Or, remove the dust with a damp cloth.
Choosing the right sander
For small, intricate wood projects, sanding by hand is best. Tear or cut a sheet of sandpaper into fourths, then fold each piece until it fits comfortably beneath three fingers of your hand. For large, flat surfaces, an electric orbital or palm sander can also be used, although it is not required. You can also wrap your sandpaper around a scrap piece of wood for flat surfaces.
Powerful belt sanders, however, can do more damage than good on any project wood other than floors. They generally create more scratches than they erase.
Use a Pre-Stain Wood Conditioner
Prevent streaks and blotches
Wood rarely absorbs stain evenly. The various sizes of pores account for the difference in the amount of stain one board or even one section of a board will absorb compared to another. To minimize this difference and to reduce the blotchiness that often occurs when staining, brush on a coat of Minwax® Pre-Stain Wood Conditioner after removing the sanding dust, but before you apply your stain.
When making your decision, consider the following:
Minwax® Pre-Stain Wood Conditioner is available as either a water-based or an oil-based formulation. Choosing a pre-stain wood conditioner is simple. If you plan on using an oil-based stain, you must use the oil-based Minwax® Pre-Stain Wood Conditioner. If you plan on using a water-based stain, use Minwax® Water Based Pre-Stain Wood Conditioner.
When using oil-based conditioner, allow it to penetrate into the wood for 5-15 minutes. Then be sure to remove any excess with a clean, dry cloth.
When using Water Based Pre-Stain Wood Conditioner, allow it to penetrate for 1-5 minutes, then remove any excess. Since Water Based Pre-Stain Wood Conditioner causes the wood fibers to swell, you will need to lightly sand the surface with a fine grade sandpaper 15-30 minutes after application.
Where to Use a Sanding Sealer
Expert Tips For an Extra Smooth Finish:
- A sanding sealer can be used on bare, unstained floors, doors, furniture and cabinets prior to applying either an oil-based or a water-based clear finish. It is designed as a base coat that will dry quickly, seal the pores, and sand easily with fine sandpaper to create an ultra-smooth foundation.
- A sanding sealer is not the same as a wood conditioner. Whereas a wood conditioner is a pre-stain treatment that reduces blotchiness when staining, a sanding sealer is applied only to bare wood that is not going to be stained.
Wood Preparation Do’s and Don'ts
Do...
Make sure your wood project and wood preparation products are at room temperature before starting.
Like the air in your work area, both the wood surface and any wood preparation product you are using should be above 65° F. Let them sit at room temperature overnight before starting your wood project.
Keep the temperature above 65° F during the entire recommended drying time listed on the label.
During the entire recommended drying time listed on the label. If the temperature drops, the evaporation process will slow and the wood preparation product will remain tacky for a longer length of time.
Always sand in the same direction the grain ‘runs’ down a board.
Sanding against the grain leaves scratches that will become painfully obvious when they later absorb either stain or finish.
Pre-treat the end grain.
Apply extra Minwax® Pre-Stain Wood Conditioner to the end grain of any board to prevent it from absorbing more stain than the flat sides of the board.
Don’t...
Work in strong, direct sunlight.
The heat from the sun can cause moisture in the wood to create bubbles in your stain or finish.
Work beneath heating or air conditioning vents.
Heating or air conditioning vents can blow dust directly into your wet finish.
Use a belt sander on anything other than a floor.
A belt sander can quickly leave deep gouges and scratches in the wood.
Skip the wood conditioner.
Never skip the Pre-Stain Wood Conditioner on projects you are going to stain. It improves the appearance of any stained wood.


