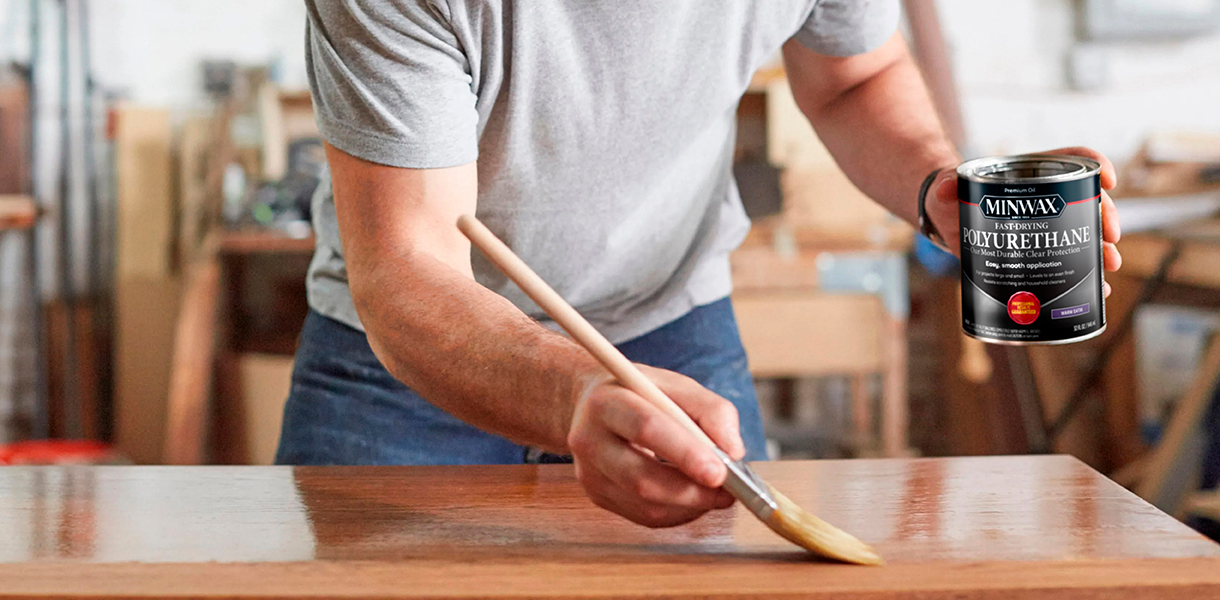
HOW-TO
From Start to Finish
Discover all of our tricks and tips, step-by-step instructions, and helpful dos and don'ts for every phase of your wood finishing project.

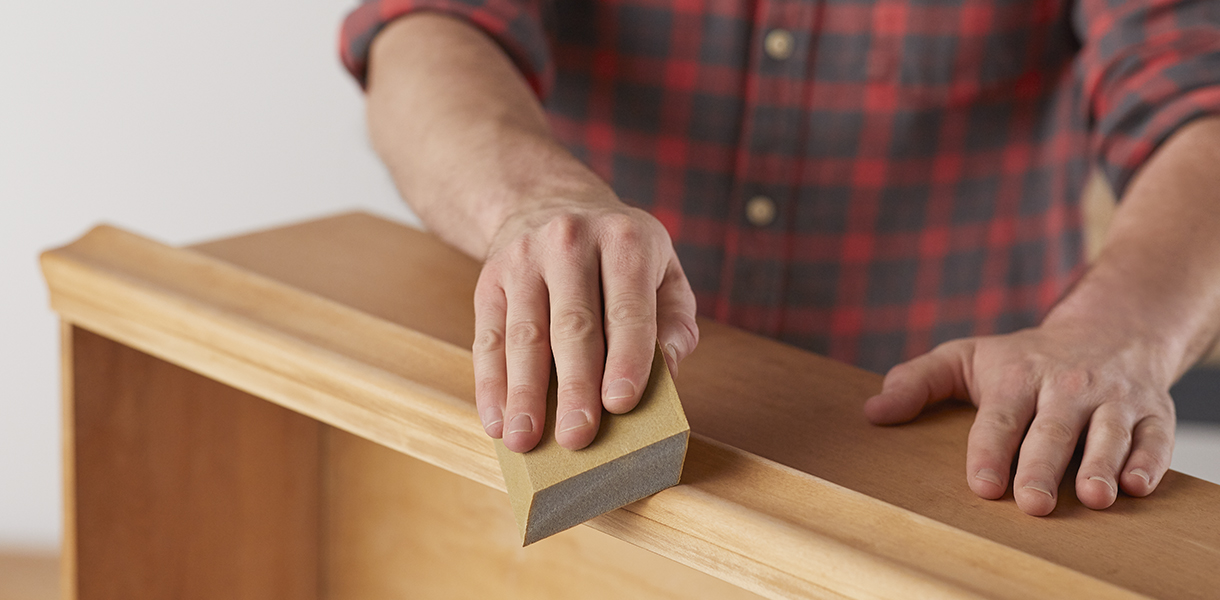
HOW-TO
From Start to Finish
Discover all of our tricks and tips, step-by-step instructions, and helpful dos and don'ts for every phase of your wood finishing project.
.jpg)