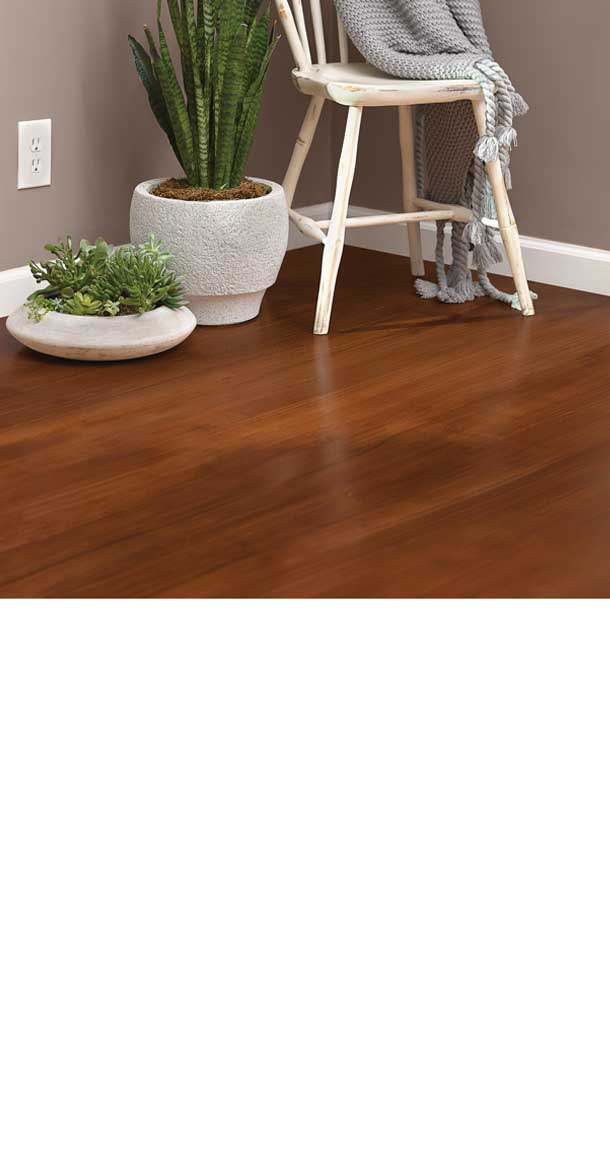
That's because adding a colorful stain to unfinished furniture, restoring the sheen to old hardwood floors or bringing out the natural beauty of paneling and trim is easier than you might expect. Just follow these three simple steps for a beautiful wood finish:
Step 1: Prepare the Wood
Make sure the wood is ready to stain by first sanding it lightly in the direction of the grain with medium-grit sandpaper, followed by one with fine grit. Tip: If the wood is soft or porous, then after sanding, use a pre-stain wood conditioner to prevent blotching. If you are using a water-based stain, be sure to use a pre-stain wood conditioner, regardless of wood species.
Step 2: Select and Apply a Wood Stain
Choosing a wood stain is a matter of personal preference and do-it-yourselfers have a variety of stains to choose from. Stains such as Minwax® Wood Finish™ feature traditional wood tones, while Water-Based Stains (which includes 50 custom colors) allow you to select a stain color that coordinates with your decor. Tip: Before staining, always test the selected stain on a hidden area of your piece, or on scrap wood that matches the wood species of your project.
Step 3: Add a Clear Protective Finish
After staining, always top coat with a clear protective finish. It will protect the wood against water, household chemicals, food stains and everyday wear. Tip: To minimize brush marks and bubbles, "tip-off" each section of your project before the finish dries. Hold the brush at a 45-degree angle and lightly run the bristles over the entire length of wood.