
HOW-TO
Change Your Wood Stain Colors Guide
Learn the easy way to change the color of your already-stained or polyurethane-finished wood.
HOW-TO
Change Your Wood Stain Colors Guide
Learn the easy way to change the color of your already-stained or polyurethane-finished wood.
Why PolyShades®?
Minwax® PolyShades® is an easy way to change the color of your currently stained or polyurethane finished wood.
There’s no stripping or heavy sanding necessary to remove the old finish! Simply give it a light sanding with fine-grit sandpaper, remove sanding dust, and brush on a coat of PolyShades® (see step-by-step instructions provided in this Guide).
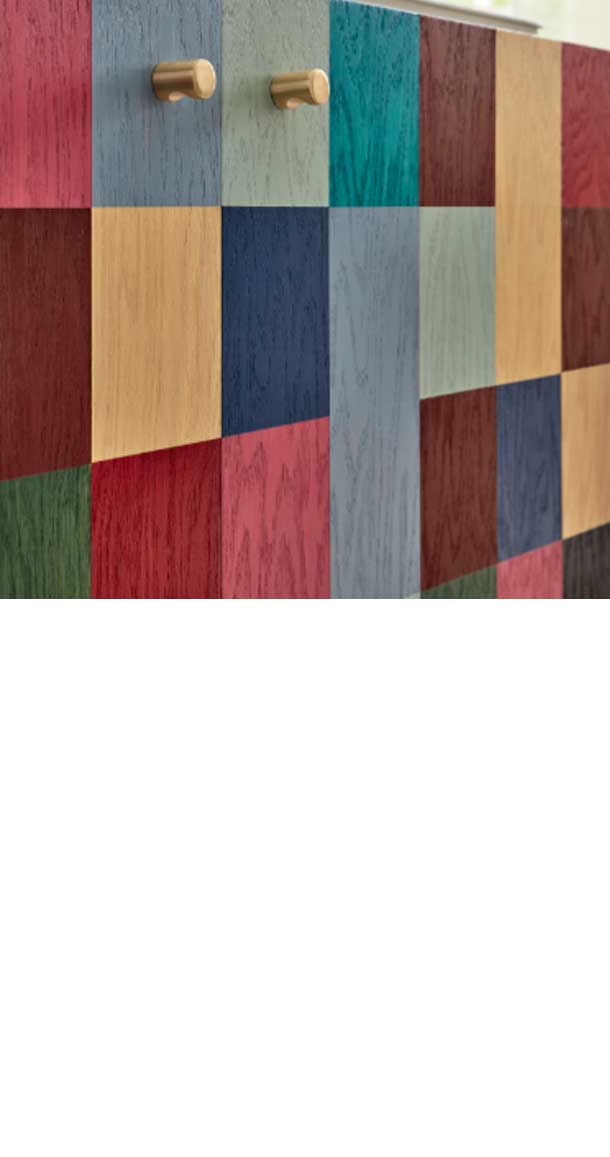
Why change the color? There could be various reasons. You may want to match a particular furniture item to your décor, update a tired room, or re-style an older piece. Whatever your specific reasons, this Guide will help you figure out which PolyShades® color you need to transform your existing finish into your desired color.
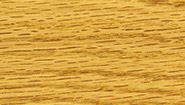
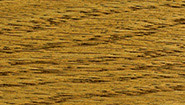
Example:
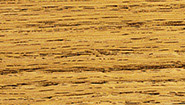
Wood Finish ™ Golden Oak

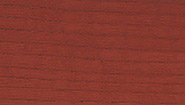
PolyShades® Natural Cherry

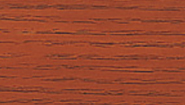
Your New Color
Will PolyShades® Work for Me?
Before you start, there are a few things you need to do to ensure the success of your project:
1. Always test the color on a small hidden area first to verify results.
This can’t be stressed enough, as every piece of wood will accept color differently. Color testing is especially important when using PolyShades® over an existing finish because the result will be a combination of the old and new colors.
2. Determine if you want to lighten or darken your piece.
If a darker color is what you want, you are in the right place. Even if you simply want to change the tone of your color (e.g. make it more red or brown) without darkening it, PolyShades® can help. However, if you wish to lighten the color, it is not as simple as applying a light color of PolyShades® over it—you will need to strip the existing finish first.
3. Test for adhesion.
If the wood you are refinishing already has a clear protective finish, you need to test for adhesion before applying PolyShades®. A few simple rules to keep in mind:
- PolyShades® will work over stained wood (meaning it does not have a clear protective finish) or wood top-coated with a polyurethane-based finish. Proper surface preparation is necessary to ensure adhesion, so make sure you follow preparation tips provided in this Guide.
- Many of the older finishes are not polyurethane-based, so testing is a must!
- PolyShades® is not recommended for use over lacquer.
4. Read and follow all label instructions and warnings carefully.
This will ensure you get beautiful results.
Not sure what type of finish is on your wood?
Take the Cotton Ball Test to find out. Touch the finish in an inconspicuous place with a cotton ball dampened with acetone nail polish remover. If the cotton ball sticks or the finish softens, it’s varnish, lacquer or shellac. If there is no effect, it is paint or polyurethane.
What Color is Your Existing Finish?
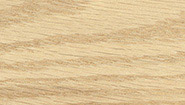
Light Finish
Changing the Color of a Light Finish
Natural
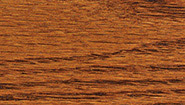
Golden Oak
Ipswich Pine
Golden Pecan
Fruitwood
Driftwood
Cherry
Pickled Oak
If your existing finish is a lighter wood tone similar to or such as Minwax® Wood Finish™ colors, Natural, Golden Oak, Ipswich Pine, Puritan Pine, Golden Pecan, Fruitwood, Driftwood, Early American, Cherry or Pickled Oak, changing color with PolyShades® is quite easy.
Just keep in mind that whichever PolyShades® color you choose to apply will take over the existing light finish, so the result will look a lot like the PolyShades® color. For example, PolyShades® Natural Cherry over Wood Finish™ Golden Oak will look very much like PolyShades® Natural Cherry. To find the color that best suits your decor, simply look through the PolyShades® Color Chart and pick a color closest to your desired result. Make sure to go to your local home improvement center or hardware store to check out the color on real wood samples.
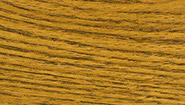
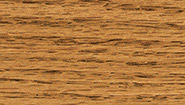
Example:
Wood Finish ™ Golden Oak
PolyShades® Natural Cherry
Your New Color
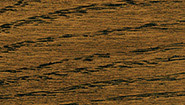
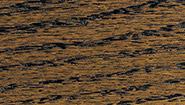
Medium Finish
Changing the Color of a Medium Finish
Colonial Maple
Gunstock
Provincial
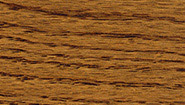
Special Walnut
If your existing finish is a medium wood tone similar to or such as Minwax® Wood Finish™ colors, Colonial Maple, Gunstock, Provincial or Special Walnut, follow these tips:
- To darken your color to medium/dark brown, use PolyShades® American Chestnut or Mission Oak.
- To darken the color and add or intensify red tones, opt for PolyShades® Natural Cherry.
- PolyShades® Olde Maple and Pecan will intensify red tones without any significant darkening of the color.
- PolyShades® Honey Pine and Classic Oak will not have a lot of impact on the existing color, but will help cover up imperfections in an old, worn finish, while providing a layer of protection.
- PolyShades® Bombay Mahogany and Classic Black will transform the existing finish into their respective colors.
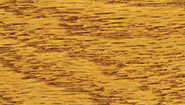
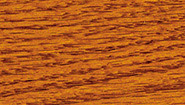
Example

Wood Finish ™ Colonial Maple
PolyShades® Mission Oak
Your New Color
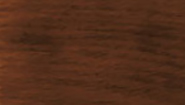
Dark Finish
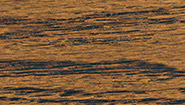
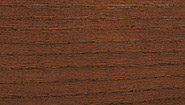
Changing the Color of a Dark Finish
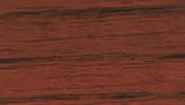
Sedona Red
Dark Walnut
Jacobean
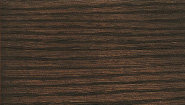
Ebony
If your color is similar to Minwax® Wood Finish™ Sedona Red, Red Oak or Red Chestnut, use Polyshades® Antique Walnut to tone down the red and bring out more amber tones. Use Polyshades® Mission Oak to add more brown.
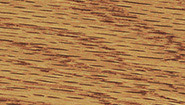
Example:
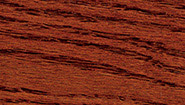
Wood Finish ™ Sedona Red

PolyShades® Antique Walnut
Your New Color
If your existing finish is one of the darker Minwax® Wood Finish™ colors, such as Sedona Red, Red Oak, Red Mahogany, Red Chestnut, English Chestnut, Dark Walnut, Jacobean or Ebony, follow these tips.
- Tip 1 - Light PolyShades® colors, such as Honey Pine, Classic Oak, and Pecan will have very little impact on the existing color. If you wish to turn your dark color into a lighter one, you will have to strip it first.
- Tip 2 - PolyShades® Bombay Mahogany and Classic Black will turn the existing finish into their respective colors.
How to Prepare Your Project
After the wood has been prepared. It's time to transform your wood with PolyShades®. For the best results, follow these instructions:
For wood previously stained with Minwax® Wood Finish™, but not yet finished:
- If the wood is dirty, first make sure that it’s carefully cleaned with Minwax® Wood Cabinet Cleaner and a soft cloth.
- If the wood has been recently stained, it should NOT be cleaned as the cleaner may remove or dilute the colorants.
- If the wood has been stained but not finished, DO NOT scuff or sand. Doing so will remove the color from the edges, leaving the project looking uneven.
- Next, apply PolyShades®.
For wood previously coated with a clear protective finish:
- Clean the existing finish with Minwax® Wood Cabinet Cleaner to remove dirt and grime.
- Lightly scuff the clean, dried existing finish with a synthetic sanding pad or #220-grit sandpaper.
- Use a bristle attachment on a vacuum to remove all of the dust.
- Next, apply PolyShades®.
How to Apply PolyShades®
After the wood has been prepared according to the steps above, it’s time to transform your wood with PolyShades®. For the best results, follow these instructions:
- Stir PolyShades® thoroughly, using a clean stirring stick. Gently repeat the stirring every 10 minutes to assure that the color remains evenly distributed throughout the polyurethane.
- Using a high-quality, tapered natural bristle brush, dip only ½ to ¾ of an inch of the bristles into PolyShades®.
- On a scrap piece of wood, practice brushing out a few strokes of PolyShades® to get a feel for how it flows onto the wood. Take care to apply an even coat of the product and remember: thin coats are easier to control than thick ones.
- Work quickly as you apply PolyShades® the length of each board in smooth, even strokes. Use the tip of your brush to gently smooth out the finish. Always apply PolyShades® moving your brush back and forth in the direction of the wood grain.
- As you return to the board with a freshly dipped brush, start brushing a few inches beyond where you left off, and then carefully blend the new PolyShades® back into the PolyShades® you previously applied. Doing so will help eliminate “lap marks.”
- Once you have achieved an even layer of PolyShades®, leave it alone. “Dabbing” will leave deposits of color in each spot touched by your brush. “Over-brushing” will drag the color with your bristles, resulting in an uneven application.
PROJECT INSPIRATION
Inspiration Lives Here
One simple step for beautiful results. Tag us on Instagram @MinwaxUSA for a chance to see your project featured next.